Brakes
Sunday the 16th we are heading to the country to do 3 brake jobs
Ill post more info on Monday
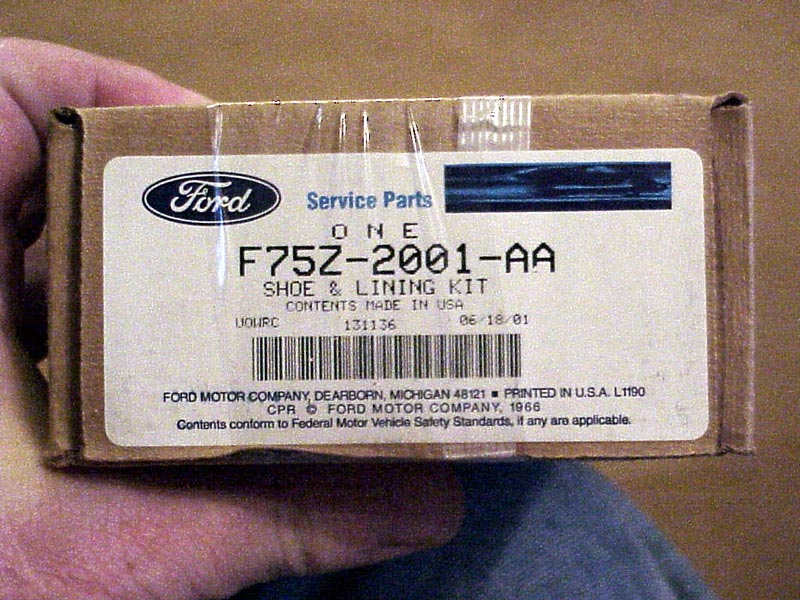
Part Number Ford (factory part)- F75Z-2001-AA
http://www.f150online.com/forums/showthread.php?s=&threadid=28058
From F150Online Lightning Forum
Hawk Brakes- http://www.hawkbrake.com/material.htm
HPS: HB299-F-650
HP Plus: HB299-N-650
HP Black: not available
HP Blue: not available
Porterfield- http://www.porterfield-brakes.com/
R4-S: AP702
R4 Carbon Kevlar: not available
Performance Friction- http://www.performancefriction.com/
Standard Carbon Metallic: 0702.20
Z-Rated: 0702.10
Doing 3 brakes jobs in an afternoon and
getting lots of pictures is a bit much for us amateurs
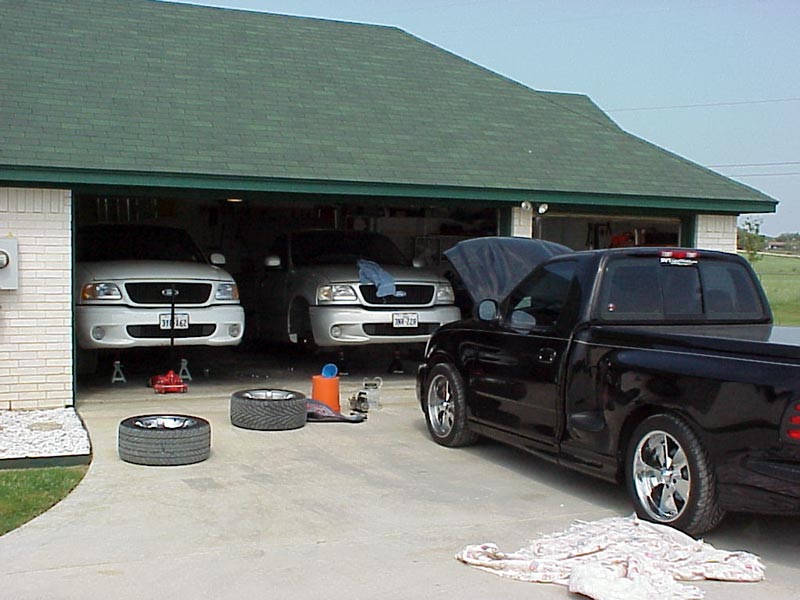
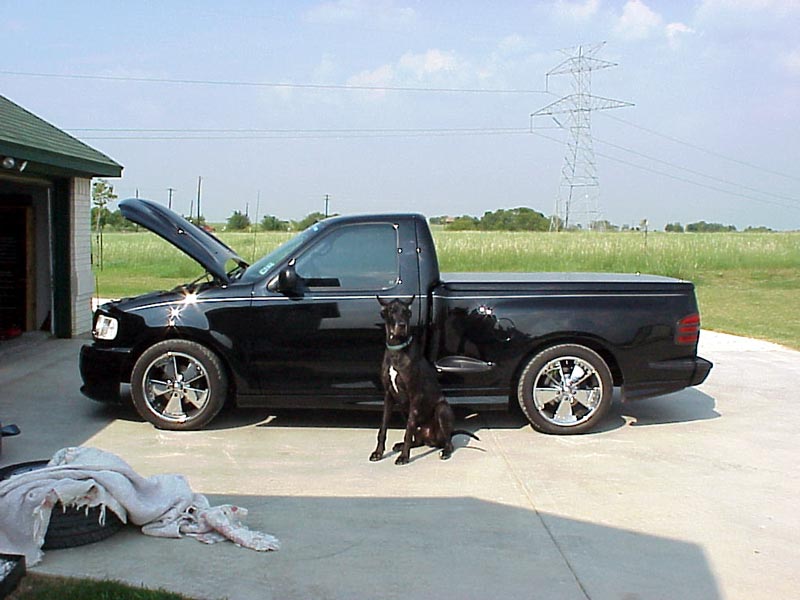
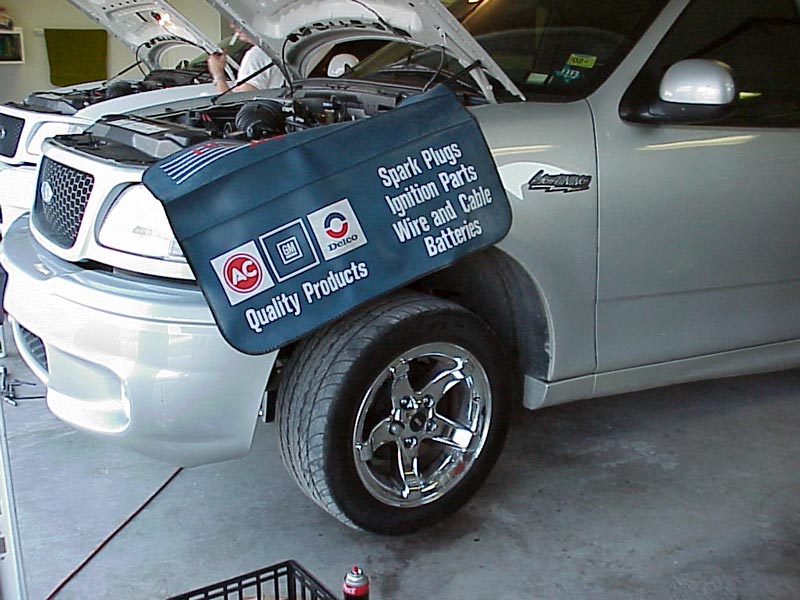
Three Lightnings ready for brake work
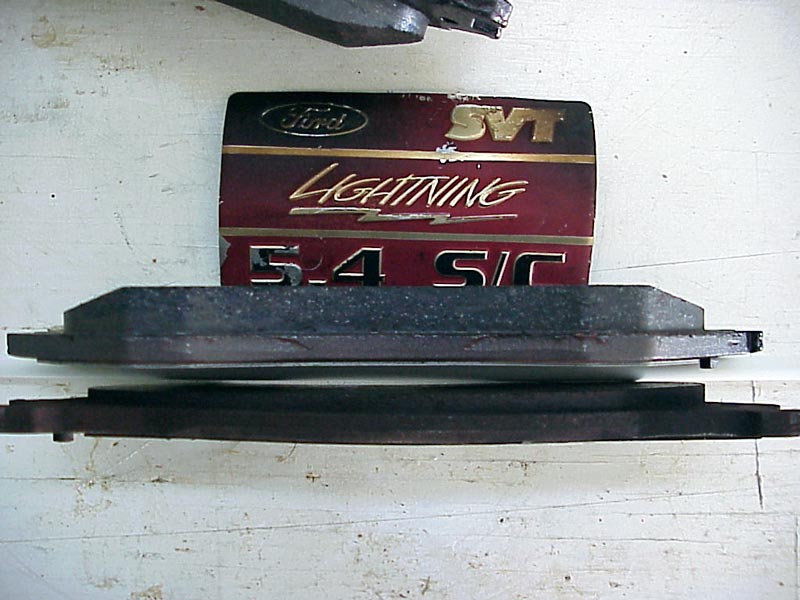
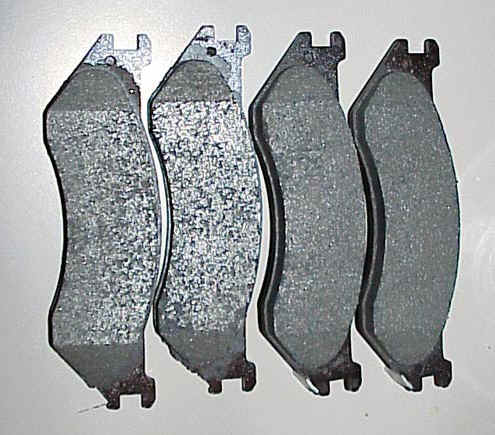
New Pad on top old pad on bottom. You can see that the left side is worn more than the right on the old pad. the left is almost to the rivets. The outside pad has a wear squealer on it but we know of at least one lightning that lost a pad completely and never squealed.
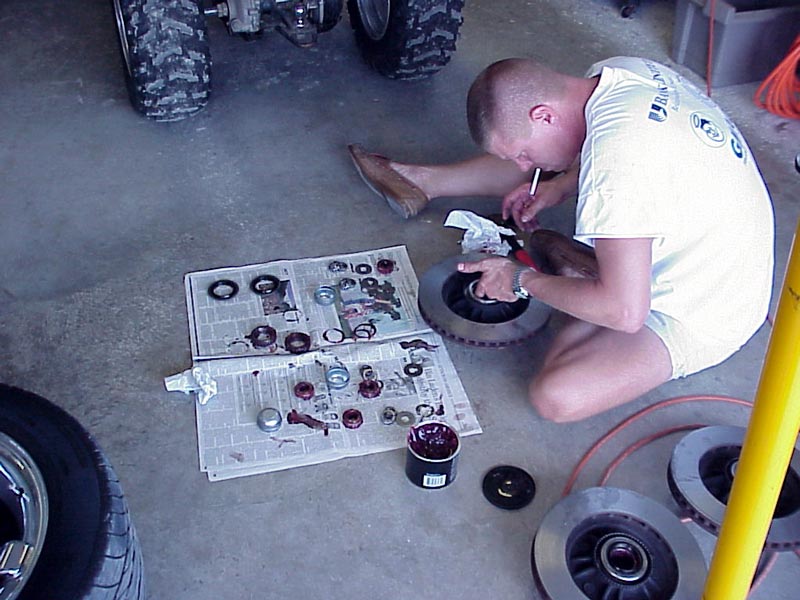
Here is Moonshine working in the bearings and seals
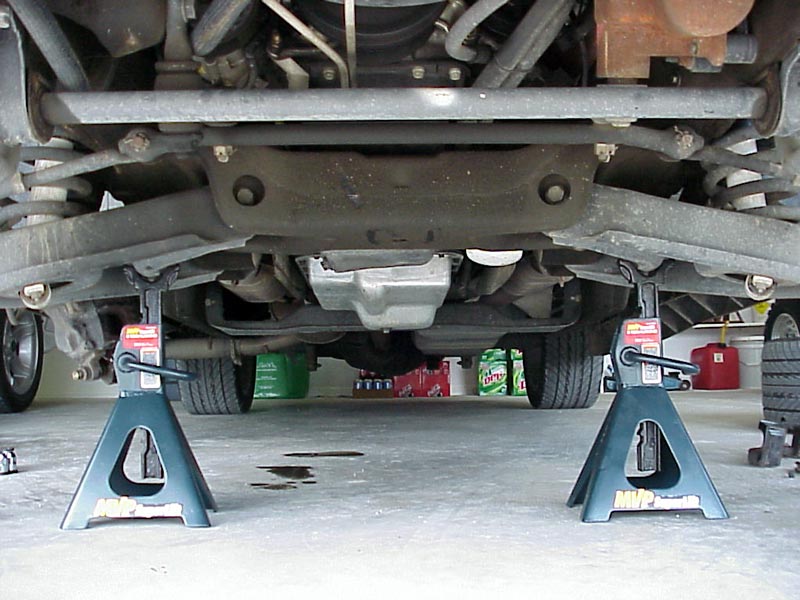
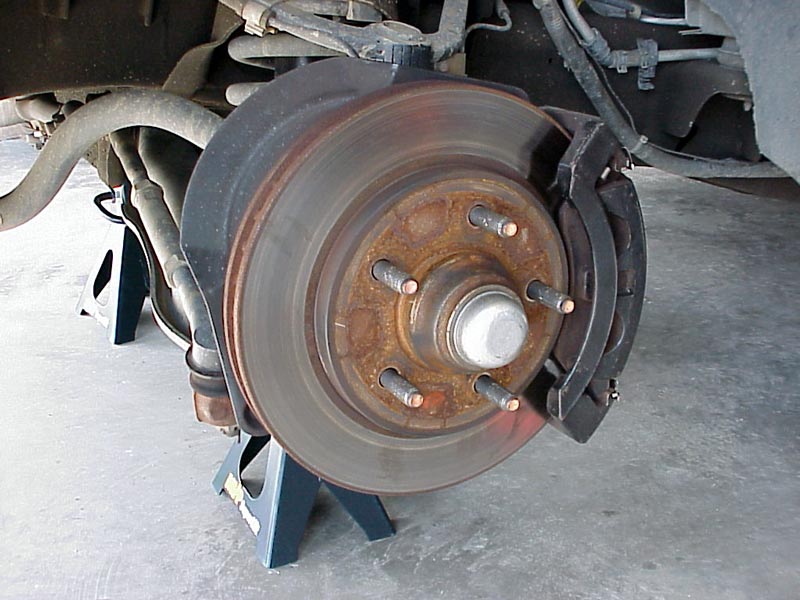
Jack stands securely under my truck
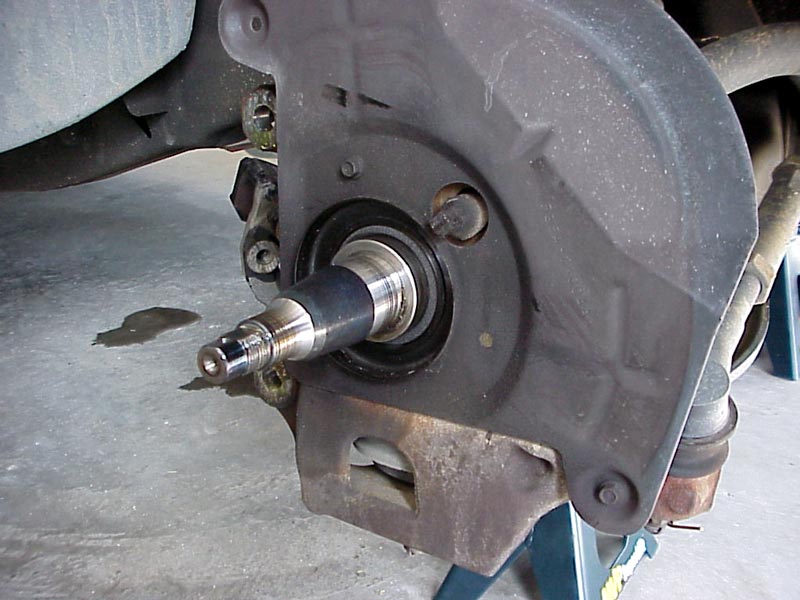
The spindle after the rotor has been removed and the grease cleaned off
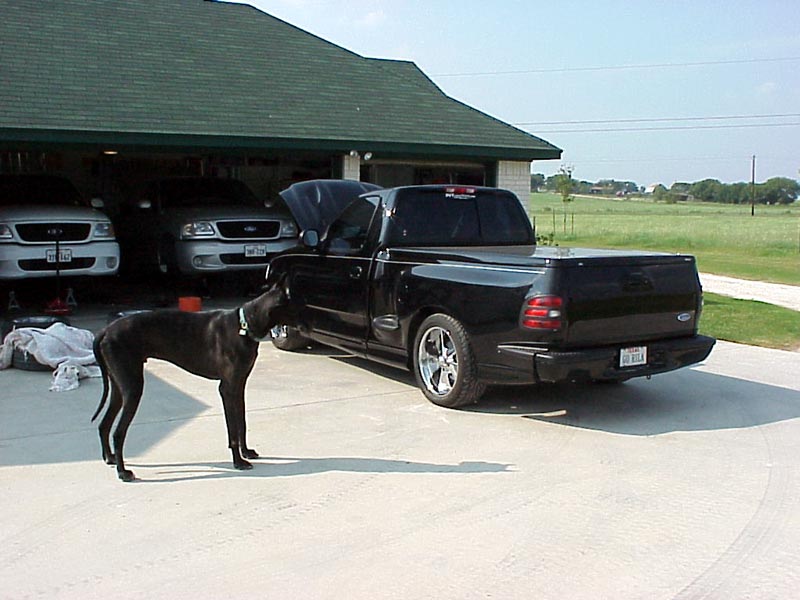
Go_rila is protected while we go get the rotors turned and get lunch
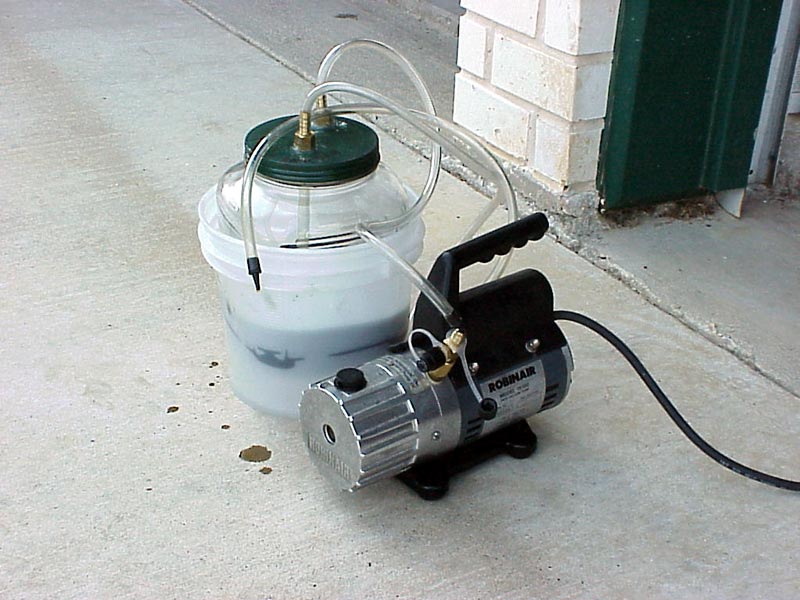
This is the thing to use to vacuum bleed
brakes.
It is deans AC vacuum pump it works great for flushing and bleeding the brakes
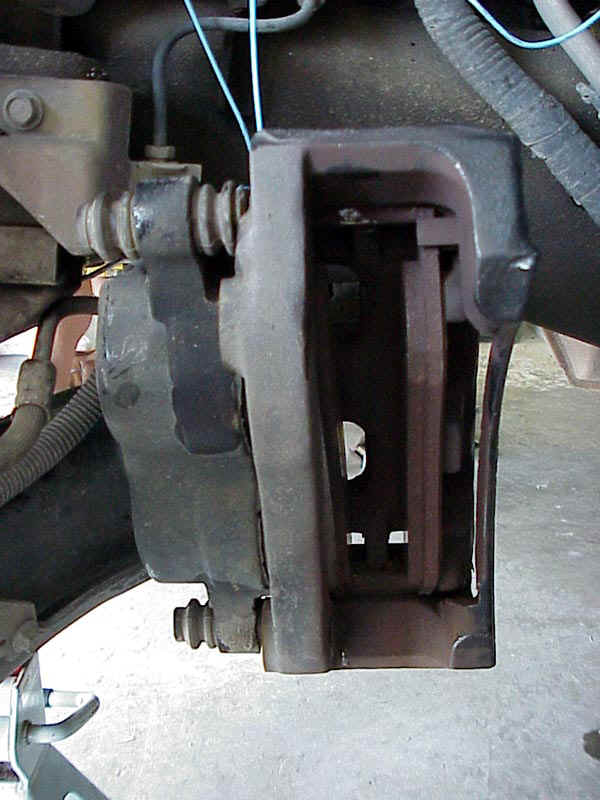
Here is the caliper hanging from a coat
hanger with old pads still installed.
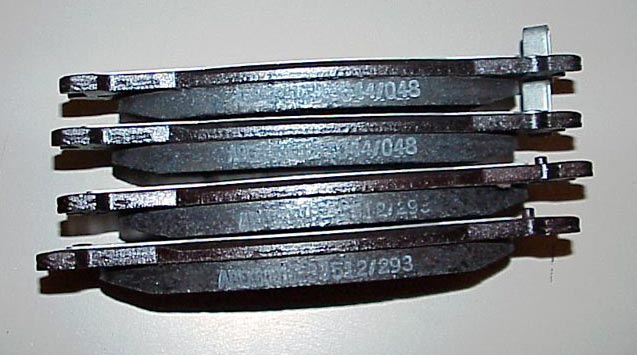
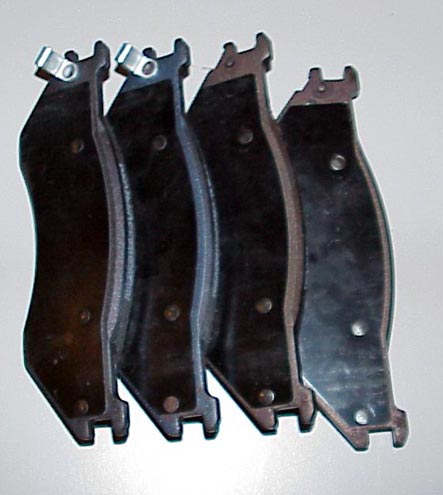
The pads we took off were worn unevenly both front to back and top to bottom on
the same pad.
The reason this is important is that a visual inspection MAY NOT give you an
honest look at the condition of the pads.
The easy way to change pads is to pull the 18 mm bolts off the back of the caliper and remove both the caliper and the cage pictured above. Then remove the torx bolts ( size 45) and pull the caliper from the cage and the pads will snap right out. Don't mess with the tin keepers at the top and bottom of the caliper. You don't need to remove them to pull the pads. The pads hook on the top keeper and snap into the bottom one. We didn't get any close-ups but if you look you will see what I mean
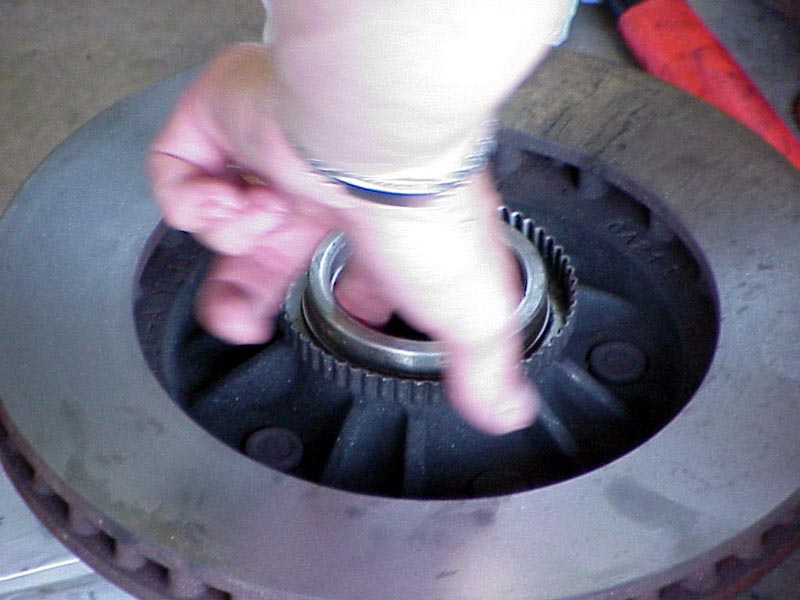
Putting the bearings and seals back in the
rotors.
The seals came out real easy and were in perfect shape so we reused them after
we repacked the bearings
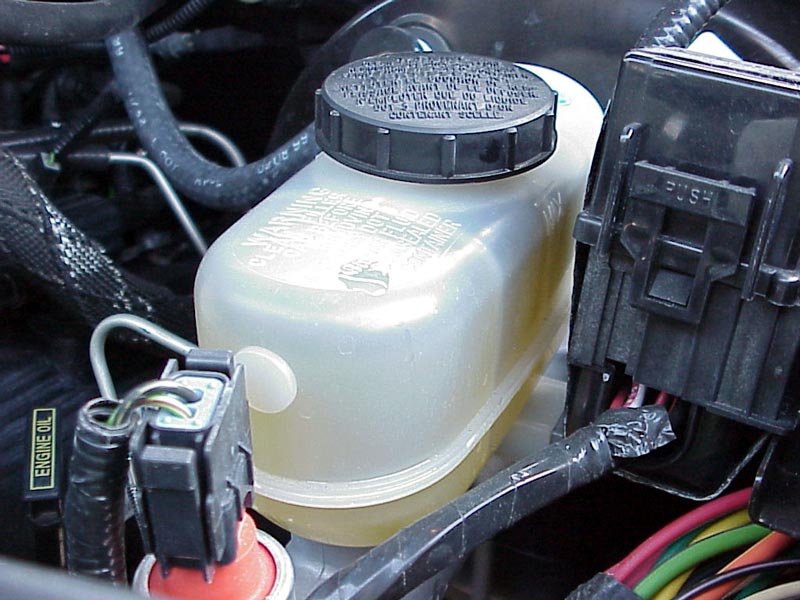
Clean Castrol LMA after the job is
done.
Before we started the reservoir looked like it had dark maple syrup in it.
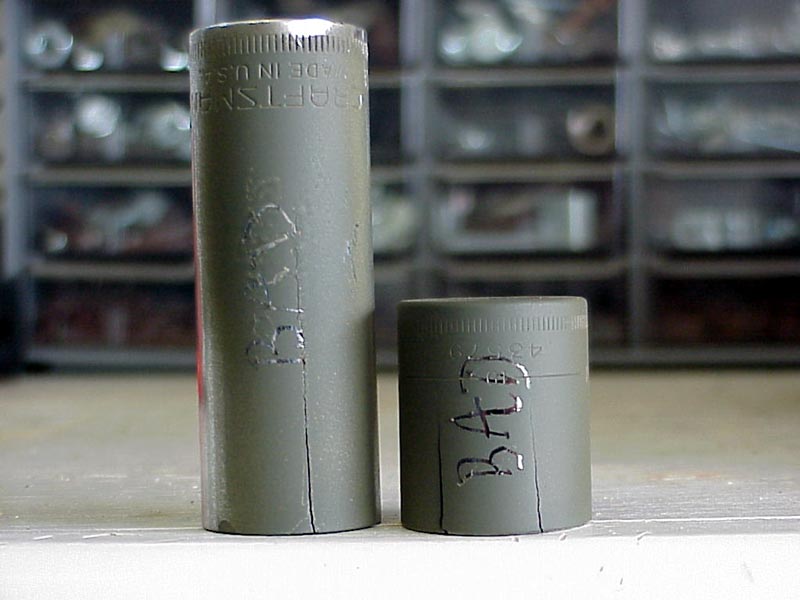
We killed (2) 6 point 18mm craftsman sockets trying to get the calipers off the truck. I guess Moonshine doesn't know his own strength since he busted these with no air tools
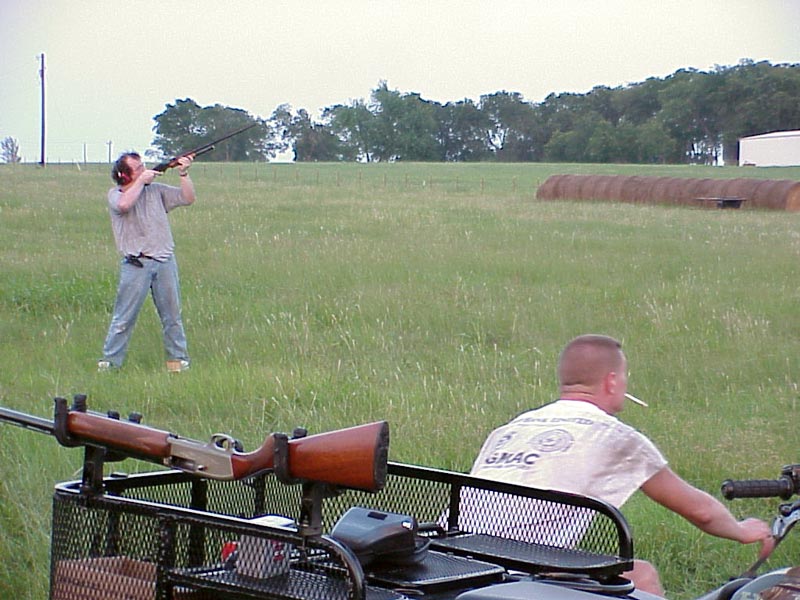
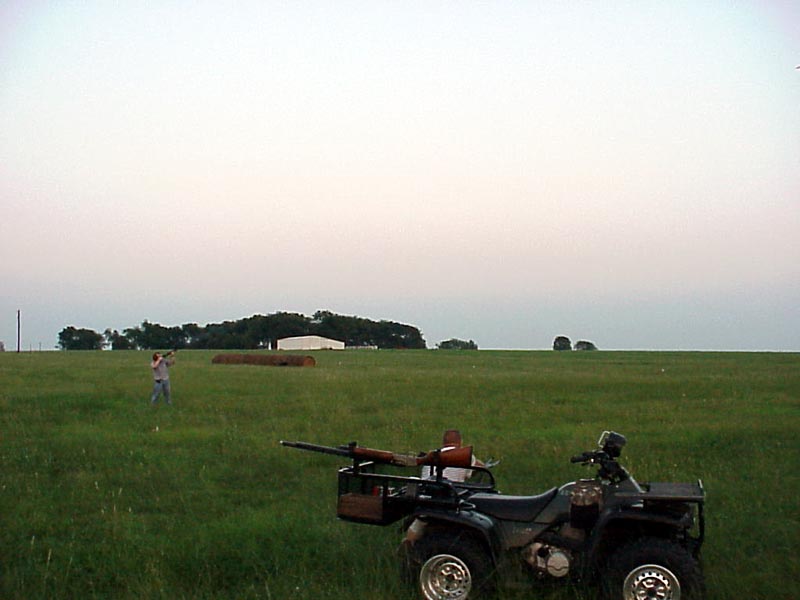
After my 12 gauge sat in the closet for ten
years we shot some clay pigeons while the sun was setting
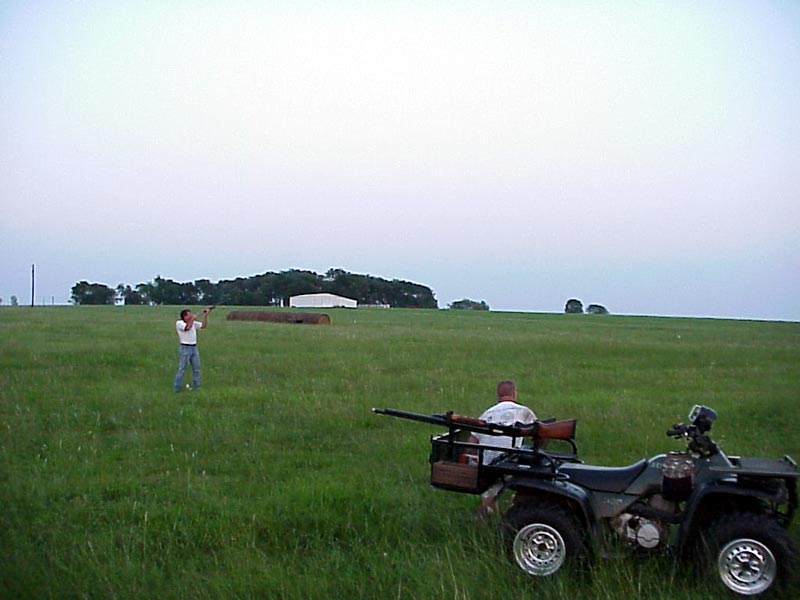
This is Silver_2000 shooting and Moonshine working the antique thrower that
works great
 ]
]
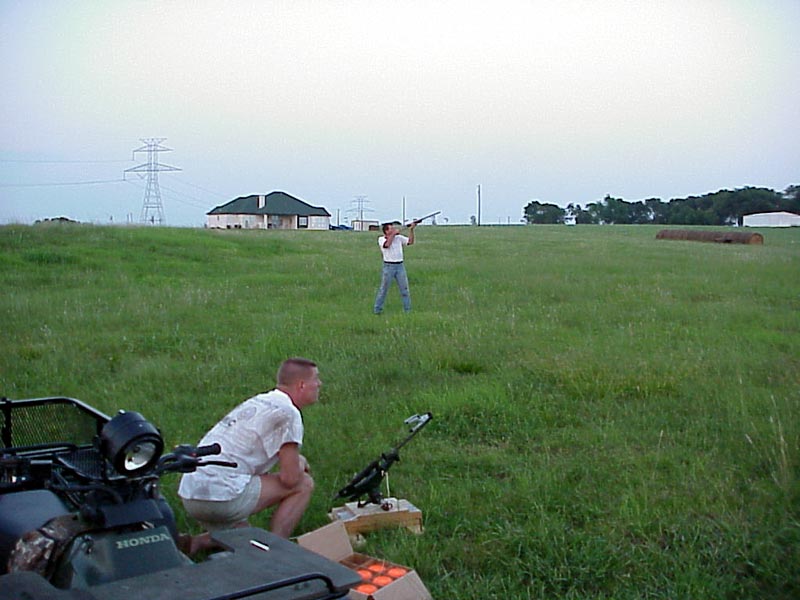
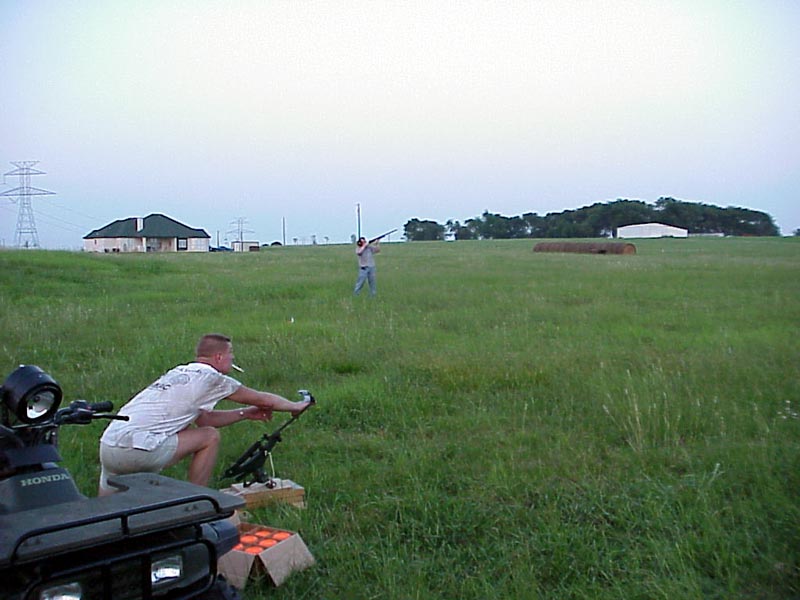
Here is Moonshine throwing for Sixpipes. Sixpipes looks cleaner than me
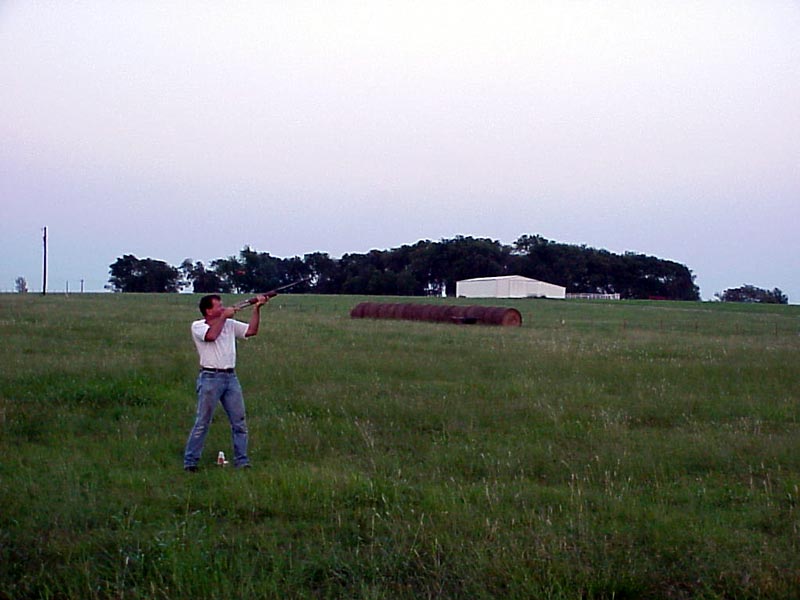
Beautiful country.