I used the JDM Line Mod. Take a couple of minutes to read through the whole install.
Tools: in/lbs torque wrench, ratchet set
Supplies: Rags, Go-Jo Hand cleaner, HUGE drain pan. The one I got was for 15 qts. Makes for less of a mess.
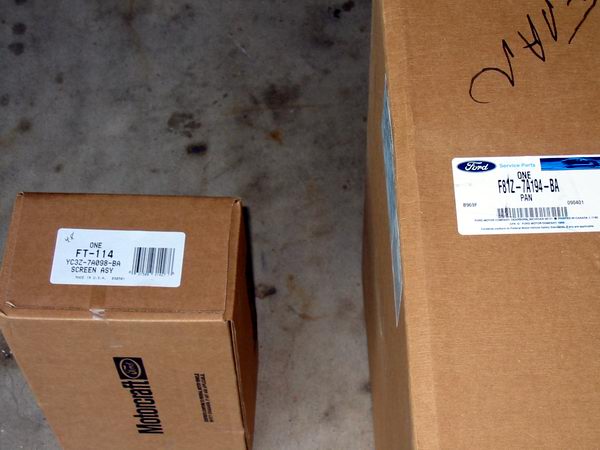
Parts:
Trans Line Mod, YC3Z-7A098-BA Filter, F81Z-7A194-BA 4x4 Transmission pan, 8
quarts of Mercon
III/Dextron Trans fluid
Where to buy parts:
Trans Line Mod: JDM (where I got mine) or Performance Research
Fluid Local auto parts store
Pan & Filter Fordpartsonline.com or JDM or your local Ford dealer
Specs: We torqued mine in the following manner: valve body got 80 in/lbs and the pan got 108 in/lbs.
Difficulty Level: Easy to moderate. Any shadetree mechanic can handle this job with ease.
Misc. Notes: The
tranny pan gasket is rubber and reusable. Be sure to pull the dipstick out before you put the
trans
body back in.
Pre-Install:
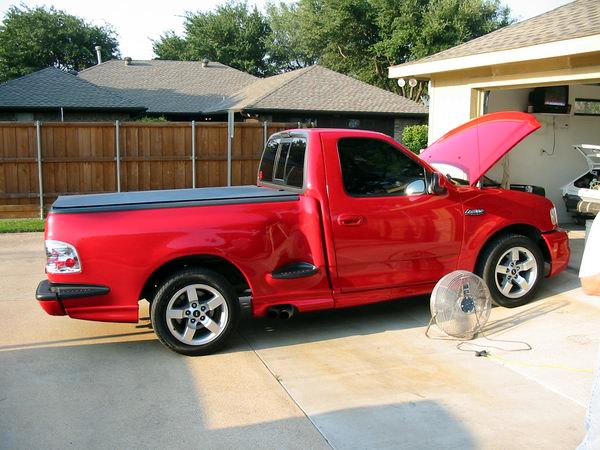
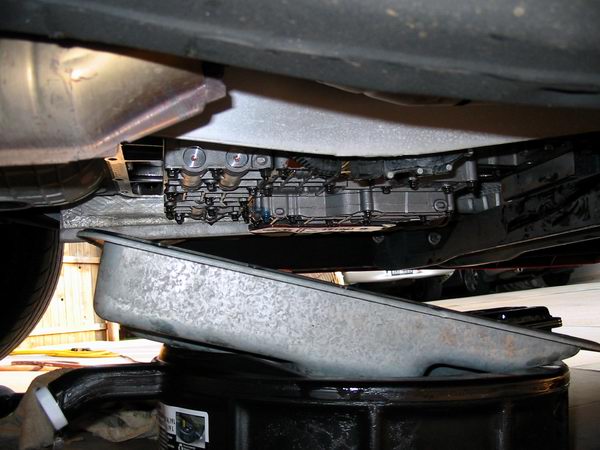
Be sure the truck is nice and cooled down. Drive up on ramps, etc to get under the truck.
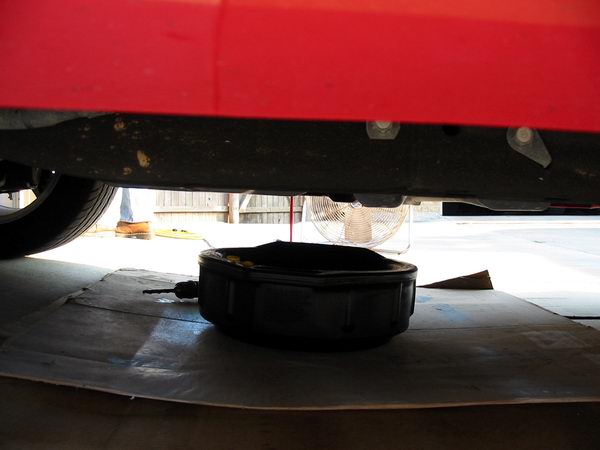
Since I wasn't planning on keeping the stock pan,
we punched a small hole for draining purposes. Take note
of the profile of the
stock pan. You will see the big difference when you look at the new pan in the
last pic.
Turnin' wrenches, workin' hard. Thanks Sam! :)
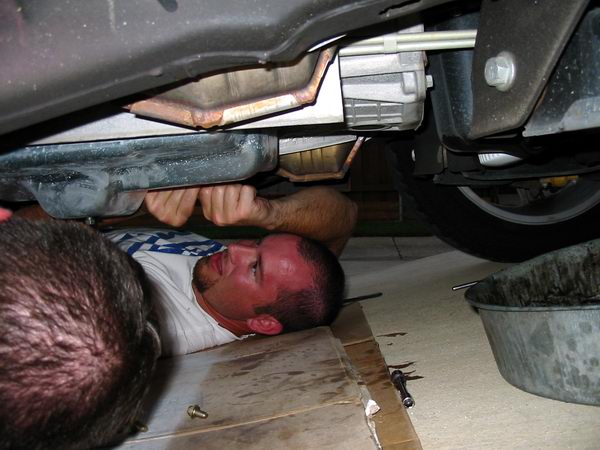
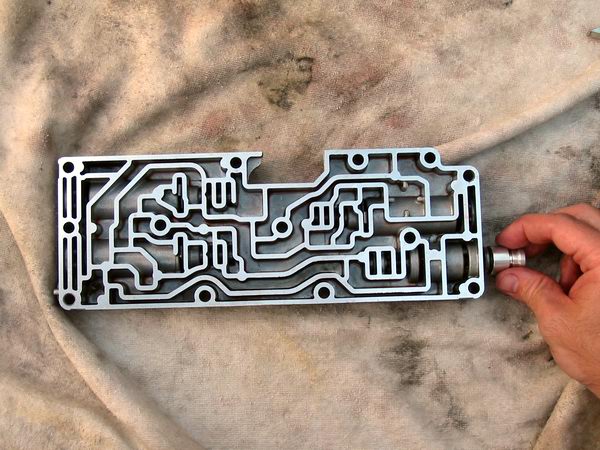
When you remove the pan, the valve body is right there. Remove the filter, then the body.
Remove the filter by pulling on it. I hear some
of them come out with no problem, and with some of them,
the little plastic ring
makes it more difficult. Mine came right out with minimal pulling.
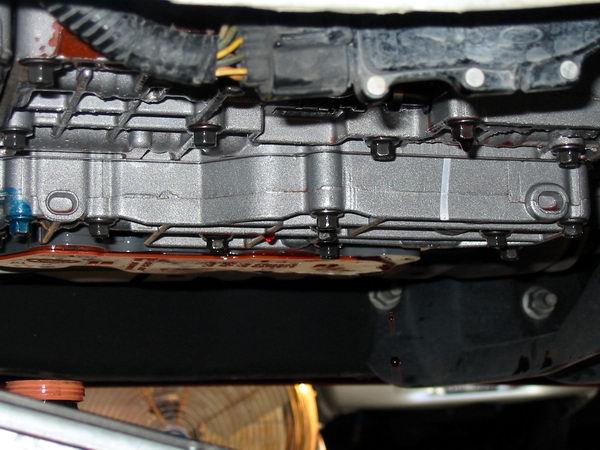
Close up shot of the valve body mounted.
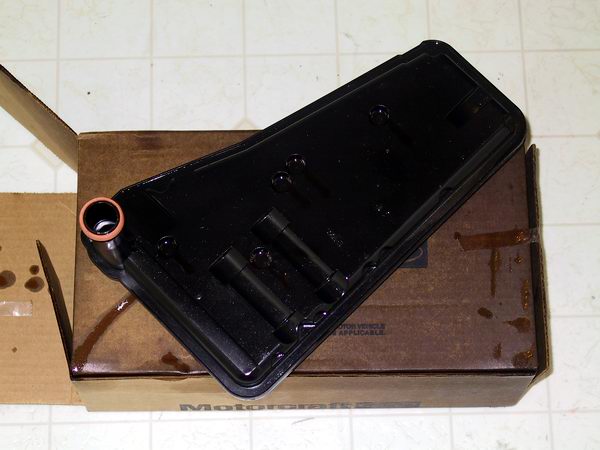
New pan on left. The diameter is the same size.
It looks a little different here because of the angle of the
pic. The big
differences are the dip where the magnet is and also that there is a drain hole!

Stock on the left. New and improved on the right.
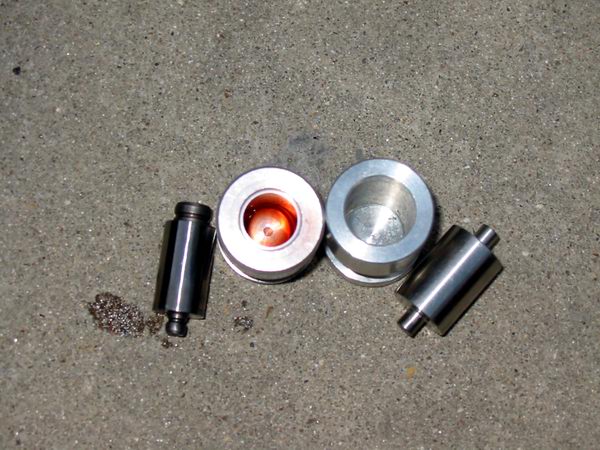
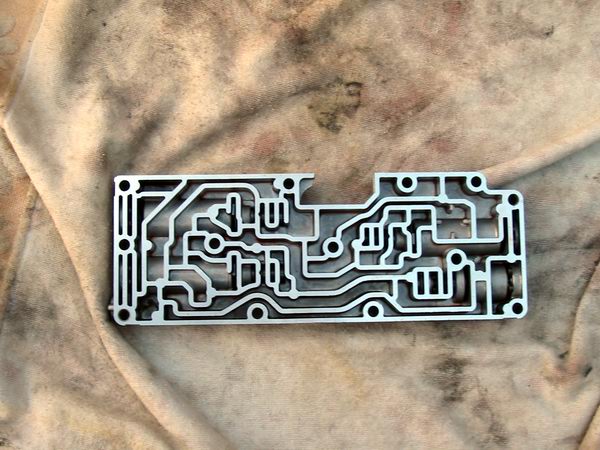
Note that there is a small clip to the left of
where the line mod is removed/installed. Remove the clip,
remove the stocker,
replace with new, replace the clip. It's that easy.
Installed.
All the new items installed. Note the 2 or 3 inch of extra pan depth. Be extra careful if your truck is lowered.
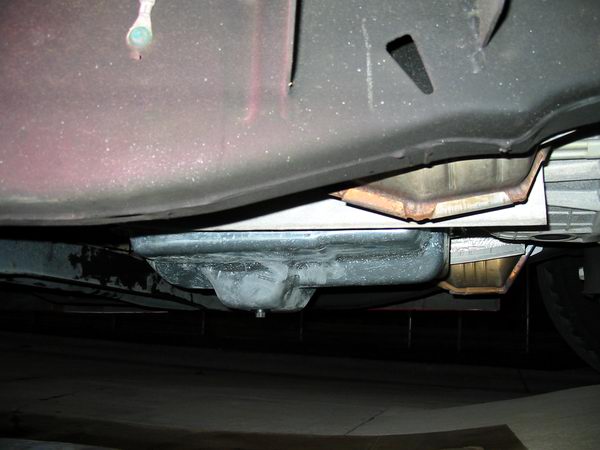
Be sure to add at least 7 quarts of fluid. After
you get the truck on level ground, start the truck and check
for leaks. Check
the tranny fluid level again. When it's close to full, take a quick test drive,
without stomping
on it too much. After the test drive, check the fluid level
again. It's better to have a little less than a little more
at first. You do not
want to overfill the tranny. Be sure to check the fluid level for the next
couple of days just
to be sure everything is good.
After install Comments:
Phew!!! I love it! My chip had already been
burned for the trans line mod, so no adjustment was necessary
once I installed
it. It shifts with such authority now it's unbelievable. If I put my foot into
it I always get rubber
on the 1-2 & 2-3 shifts. One of the best mods I ever
added to the truck. I just wish I hadn't waited sooo long
(about 1 year - can
you say: lazy?!) to install the trans line mod. I suggest you do yours today!
James aka OneRedTXBolt