Shock Install Tips


HAL Shock Install Tips -  By Dean

If you aren't sure which is which,
Fronts are labeled: TC 1958-P
Rears are labeled: MJ 7855-P

Tools needed (more may be needed, but these are some of the important specifics):
13, 18, 21mm sockets
13, 18, 21mm wrenches
8" socket extension
3" socket extension
Breaker bar

Things to do before starting:
Spray all shock bolts/nuts with penetrating lubricant (preferably the night before) and prior to starting.

Set all shocks to setting of 1 - but do not go past 1, and similarly, do not go past 12.

Rears are easiest to do and very straightforward.
You will use the stock rear lower bolts so don't lose them.
The rear socket and wrench size will be 18mm.
A tip from Spike Engineering: Put the adjustment dials facing REARWARD, facing the axle. The purpose is so that this minimizes the chances of rocks, etc., hitting your adjustment dials.

The fronts take some finagling, but as long as they are set to 1, the shocks should be easy to align with the bolt holes by manually lenghtening or shortening the shock.
The top front shock size is 21mm.
The bottom front shock size is 13mm.
**Important: The front shock adjustment dials MUST face towards the center of the truck - they cannot be installed any other way.
Otherwise the front shock install is also straightforward.

***********************************
Regards,
- Dean!


Bilstein Shock Install How to


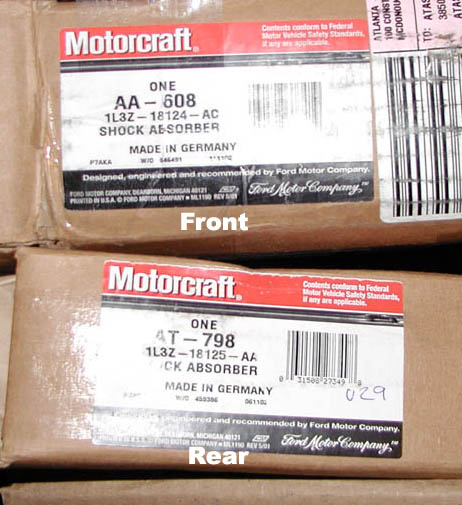
One set of the shocks comes with new nuts and the others dont -

You also need rear insulator nuts # F65Z-18197-BB


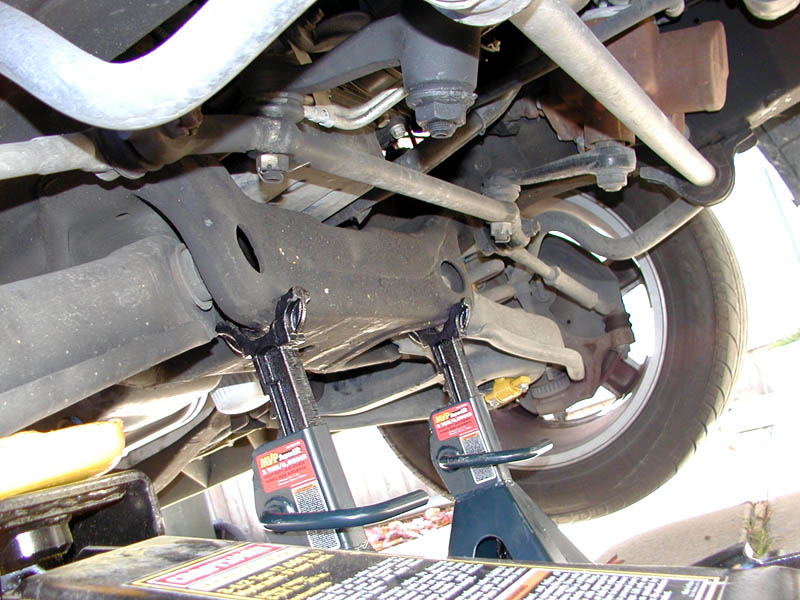
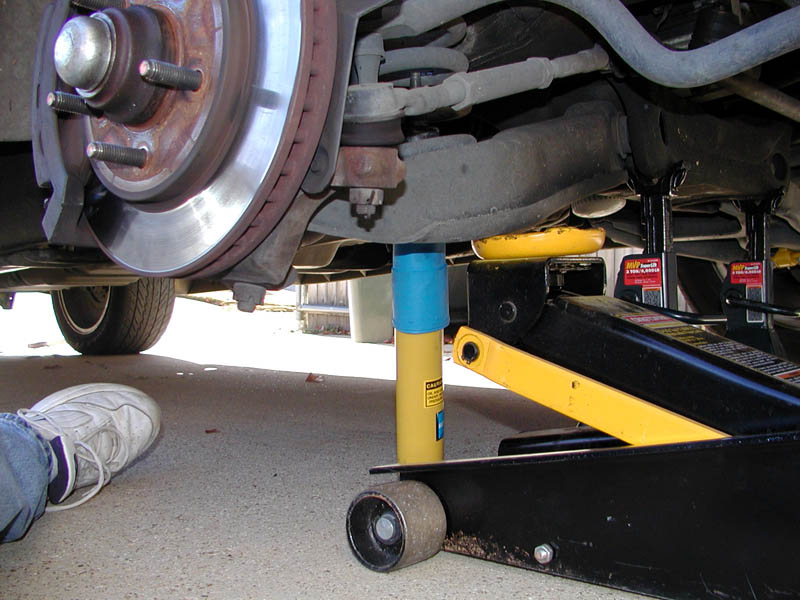
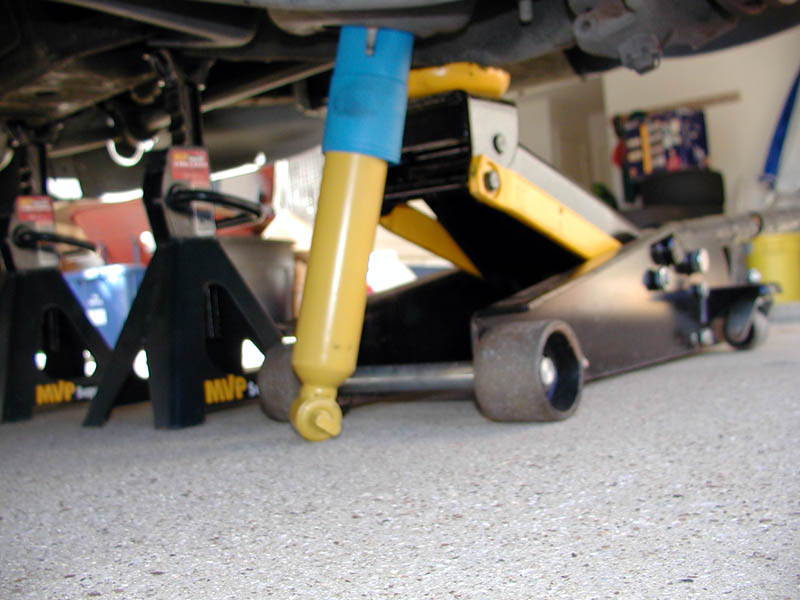
Carefully jack up the front end and support the truck on jack stands that are rated to hold the weight of the truck.
You have to jack the truck up enough to pull the shock out the bottom of the A arm...

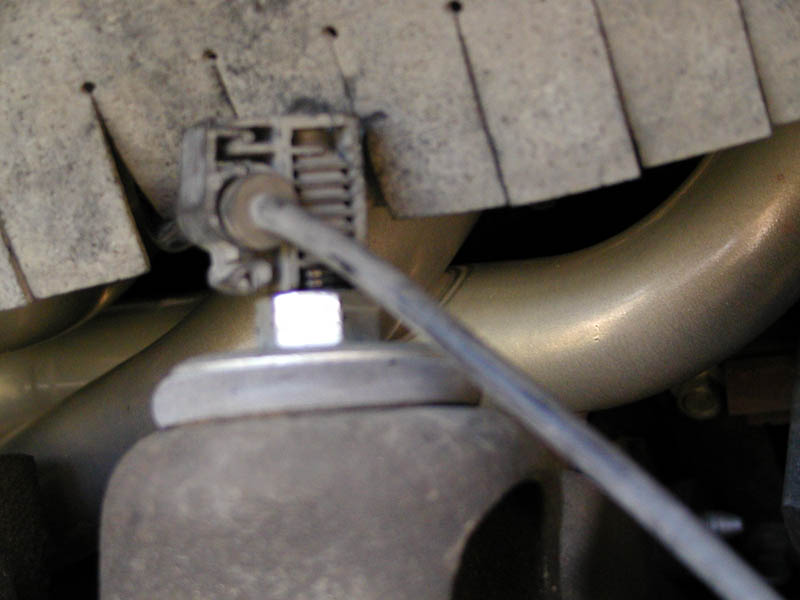
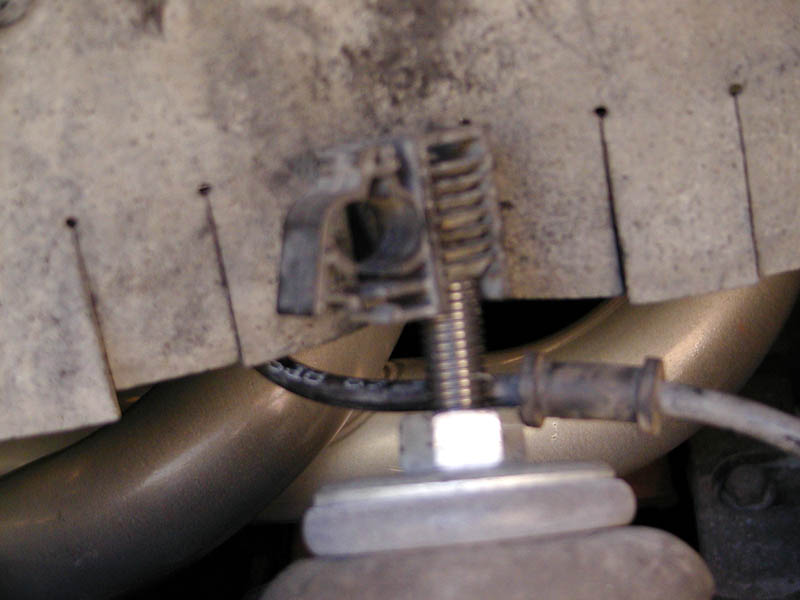
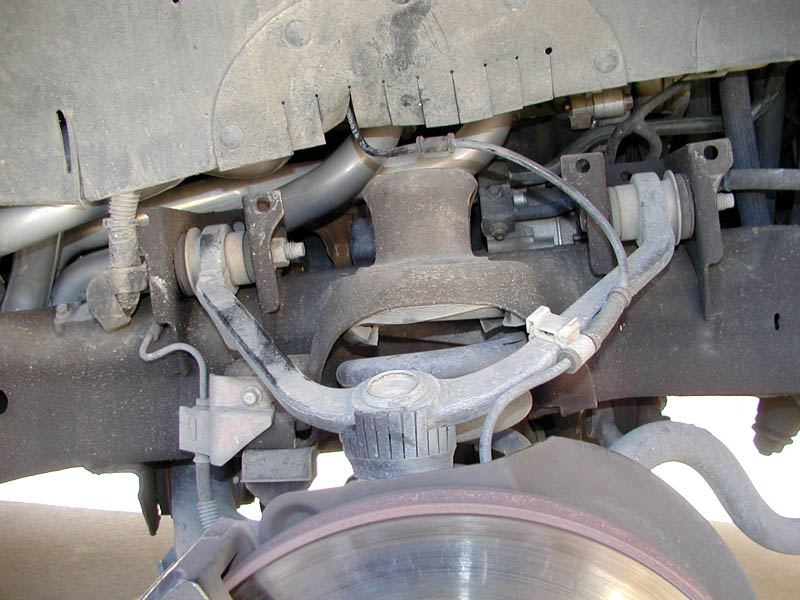
Use a flat bladed screwdriver to remove line from this clip.  then the clip unscrews off

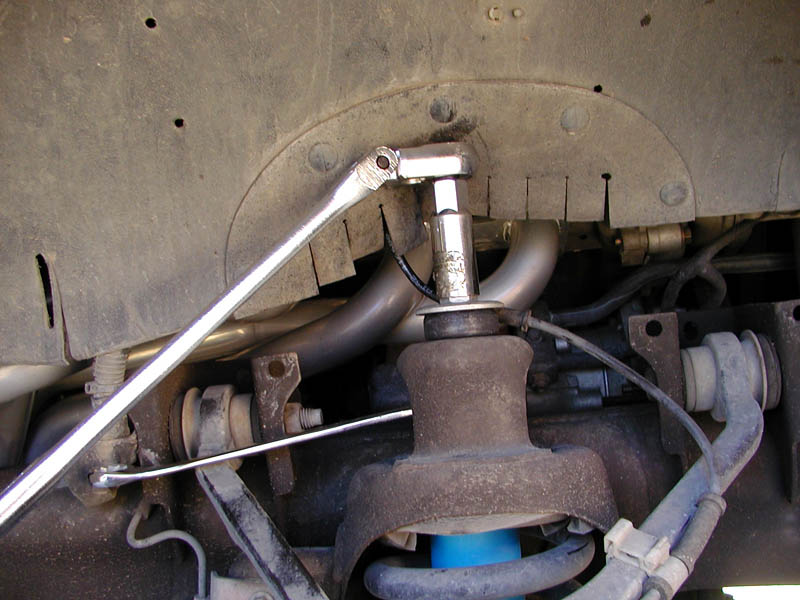
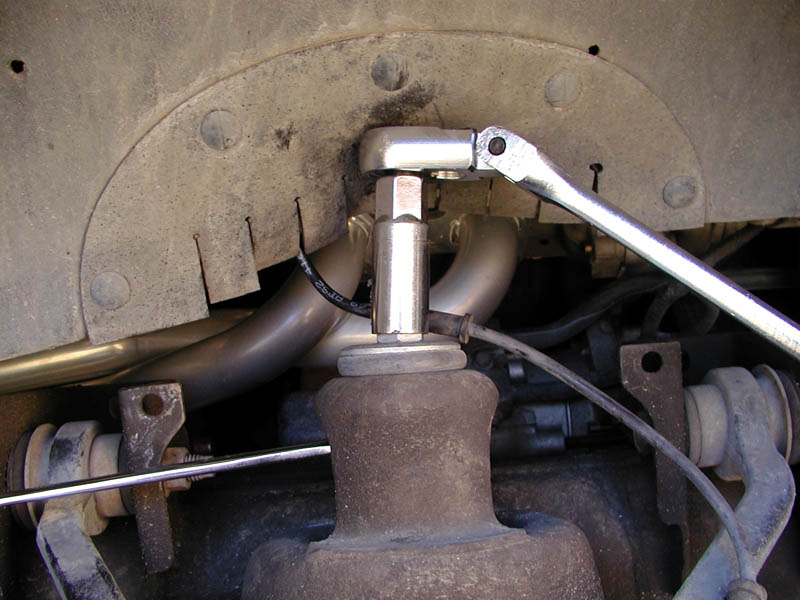
13/16 sparkplug socket works well on the pass side to get the top nut off
Use 13/16 wrench below to keep the top of the shock from spinning

Drivers side has a frame member that make the top nut removal a little tougher,
try using a short extension with the sparkplug socket to get past the frame member.

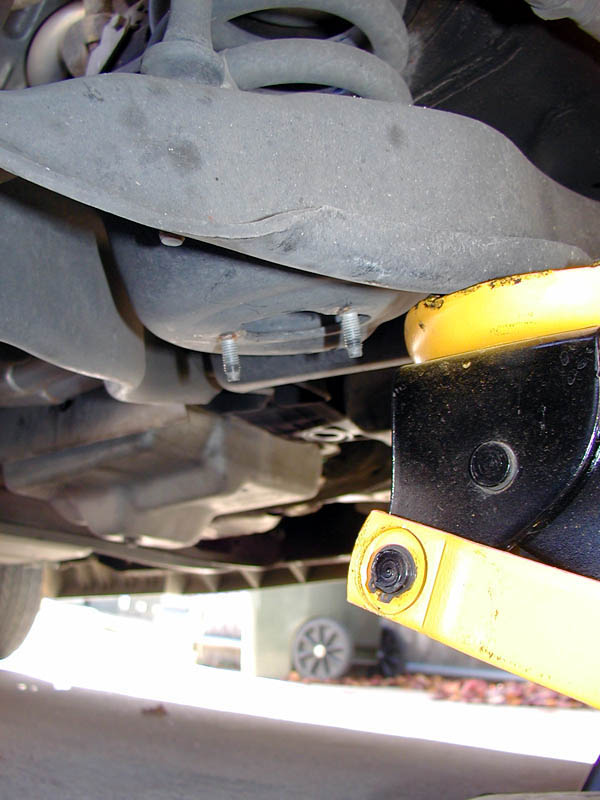
Remove the 2 13mm bottom nuts and the shock comes out the bottom.


The new one goes back in the same way. 
Rotate the bottom of the shock until the offset ears on the shock match the angle of the A-Arm

The 13mm nuts are to be tightened to 22-29 ftlbs

Once you get shock slid into place and lower nuts on -
The 13mm nuts are to be tightened to 22-29 ftlbs
CAREFULLY use the jack to raise the A Arm to seat the upper part of the shock in the tower as in the picture below

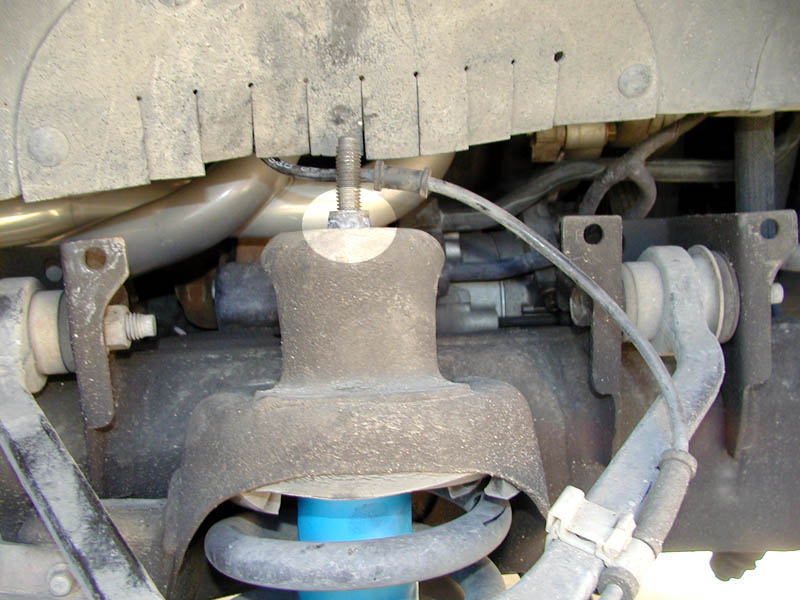
You want to be sure that the rubber cone is up through the top of the tower before you install and tighten the upper nut
If not the shock can be tightened with out it seated correctly, which is dangerous and can affect your alignment

Finally tighten the upper nut until
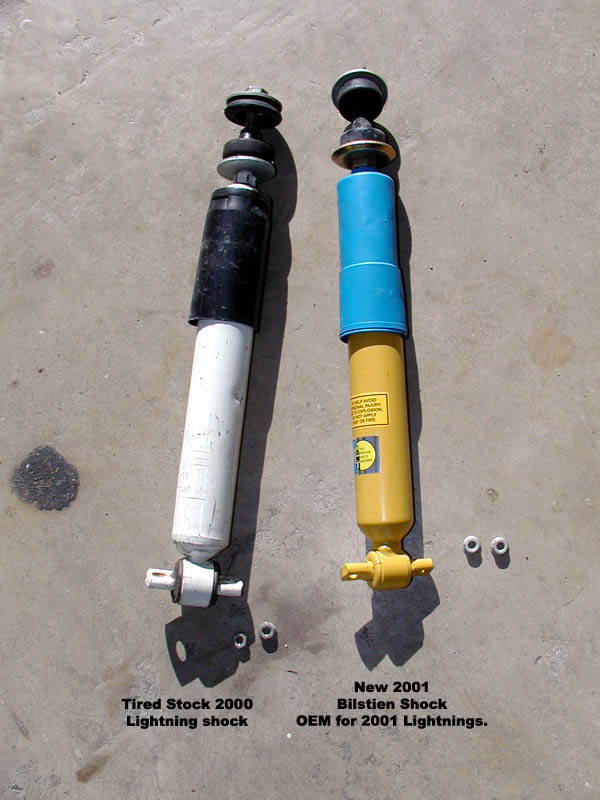
 the shock is fully seated
AND the rubber washer is larger than the metal washer as seen in this picture.

The book says 35-46 ft lbs

The rear shocks are pretty straight forward - The drivers side top has a frame rail in the way and the shocks are compressed by a band.  What I did was install the bottom of the shock and then cut the band and point the top into the hole - If you are good you can thread the needle as the shock expands...

After 50,000 miles on the stock 2000 shocks the Bilisteins were a VAST improvement.
The truck was wandering a bit on the highway before - especially over rougher pavement.
Seems much more stable and predictable now.  The Shocks cost less than $150 for all 4
with the nuts you need for the backs, from www.fordpartsonline.com.  Surprisingly the new shocks didn't have an negative affect on my 60 foot times at the drag strip... 
I was worried that losing the weight transfer of the old weak shock would cause a problem but it didn't.


SVTLightnings.com recommends you have professional help when servicing your vehicle.
We make NO warranty as to the effectiveness or safety of any of the processes described here.