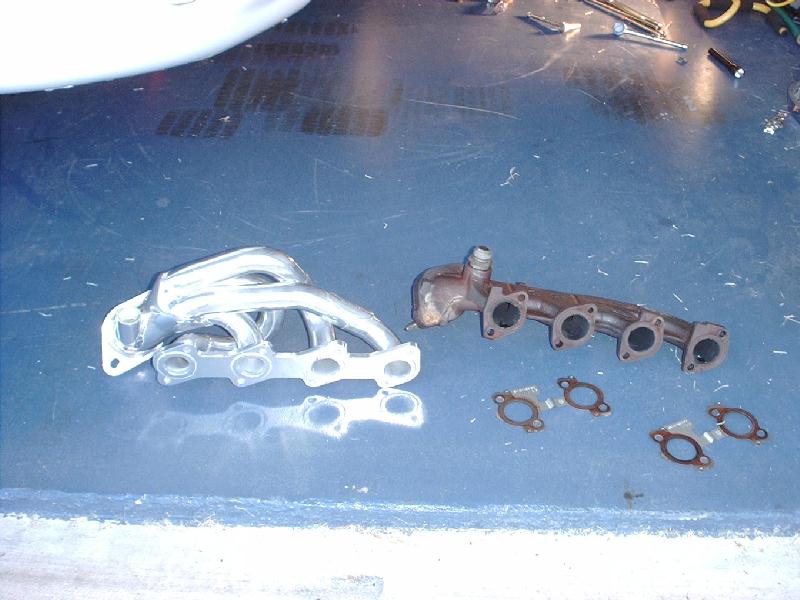
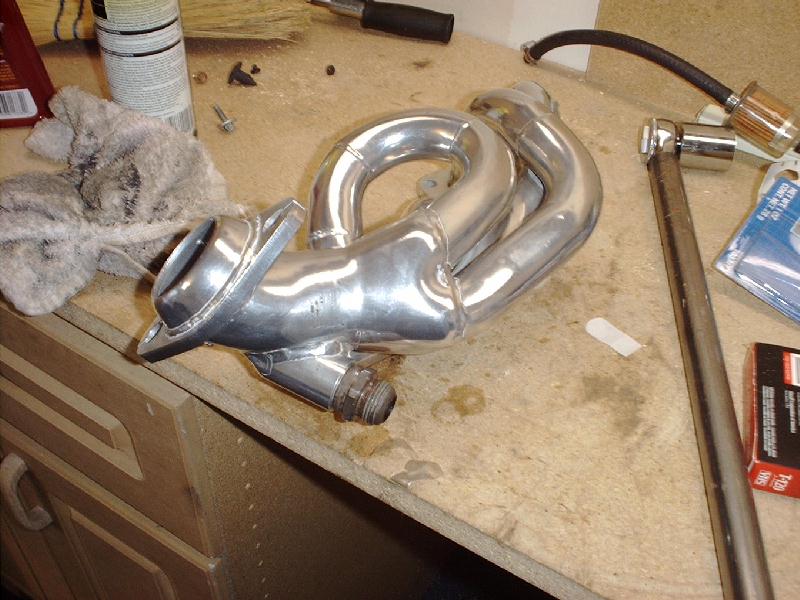
For the record, I'm installing a set of JBA headers with ceramic coating. They're of great quality and made of stainless steel and are truly
worth the money. I paid $531.00 with the ceramic coating.
The first thing you need to do is obviously collect all the materials above, shouldn't be too hard for anyone with a modest tool inventory.
My recommendation is to start this job early in the morning when you have tons of energy, you'll need it. Also, because the truck's engine MUST be completely cold
otherwise you simply will NOT be able to get the bolts and studs undone.
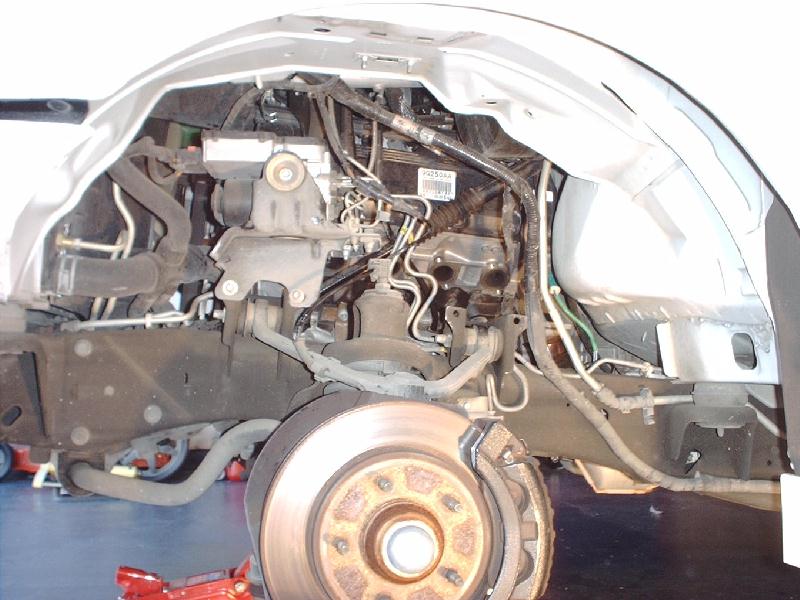
Now, the night before you start this job, go out and remove the fender well skirts off your truck on both sides. There's only a few bolts and those annoying
plastic plugs holding it on. I never could find an easy way to get the plastic plugs off, I just grabbed them with grips and yanked them out. Now, get in there with the WD-40! Spray each
and every bolt connected to the factory manifold VERY liberally. Once that's done, go have a beverage and go to sleep.
Wakeup sunshine! It's header time!! First attack the drivers side, as it's the bigger of the two pains in the rear end. Get it out of the way before you get sick of this. Trust me.
You can start by unbolting the exhaust from the factory manifold. Two bolts, that's it. Then using the 1-1/4" wrench, give the EGR pipe connector a good yank to get it free of the manifold. Now,
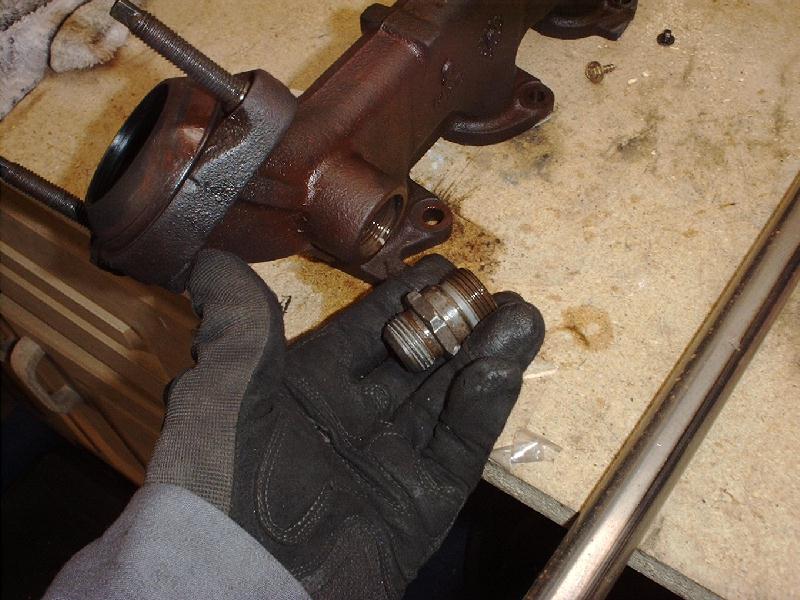
here is a moment of truth. If you can, get the EGR fitting off the factory manifold NOW, unless you're like me, and couldn't get it off, which I'll address in a moment.
Now, using your 1/2" socket and extensions, unbolt the 8 bolts holding the factory manifold on. Easy task. Now, at a bare minimum, using a 5mm socket and 1/4" drive,
take the two right most (Looking at the drivers side of the motor), manifold studs out of the block. You may need to take more out before you'll be able to easily move the manifold off the head.
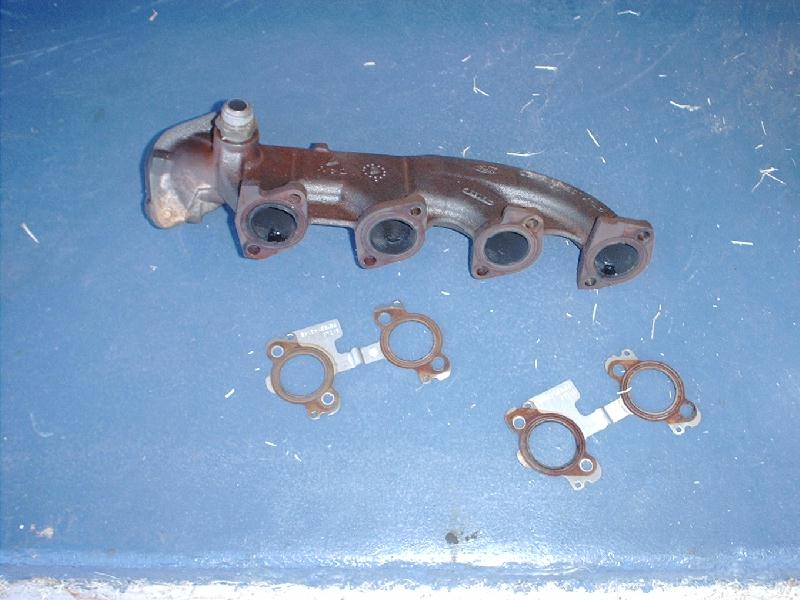
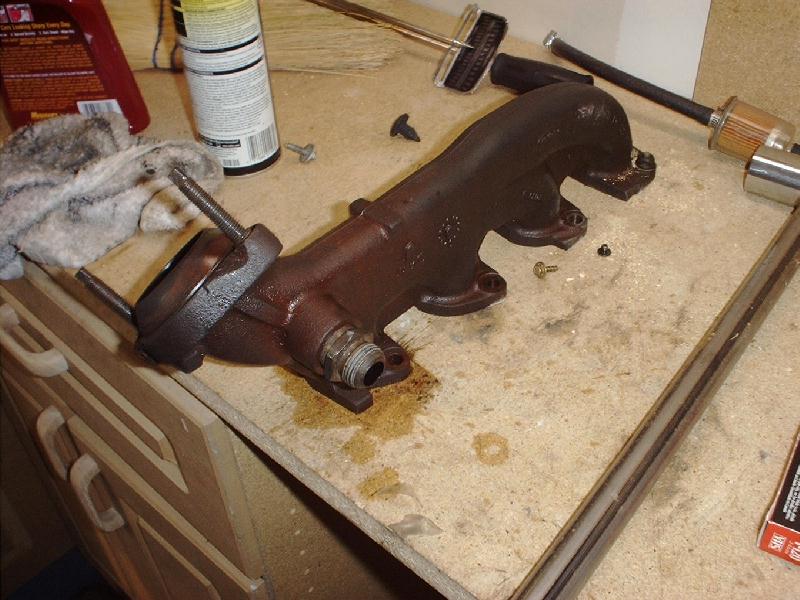
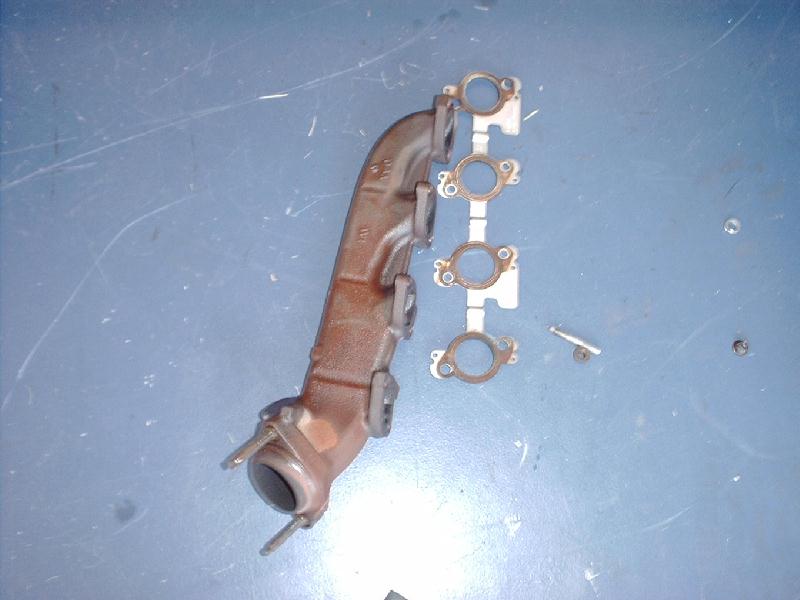
Now just snake the factory manifold out of the engine bay from underneath the truck.
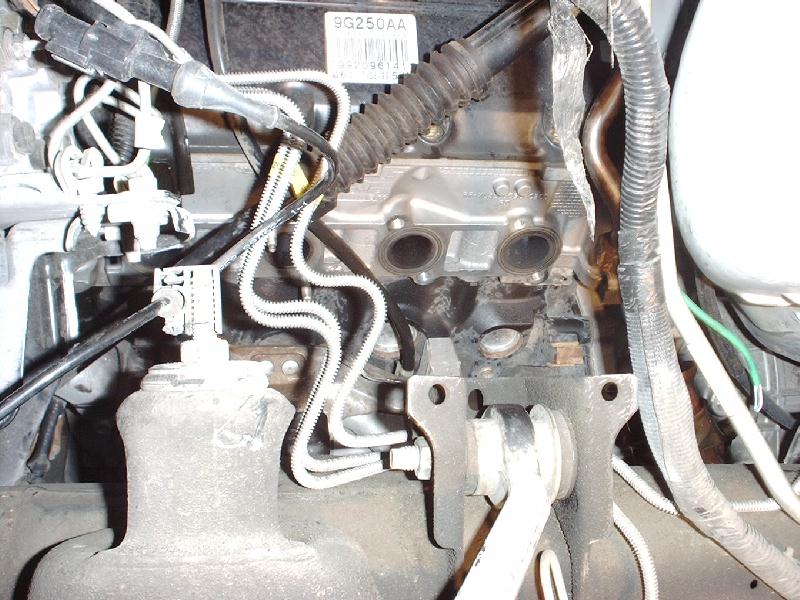
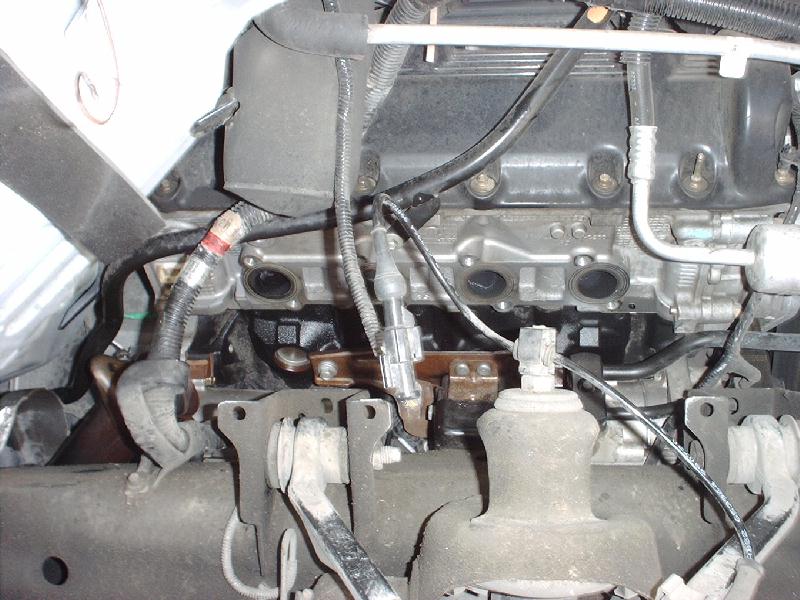
Remove the factory manifold/head gaskets and discard. Now using a green pad or other scrubby, just lightly cleanup the mating surfaces around the exhaust ports on the head. Good, now the fun part.
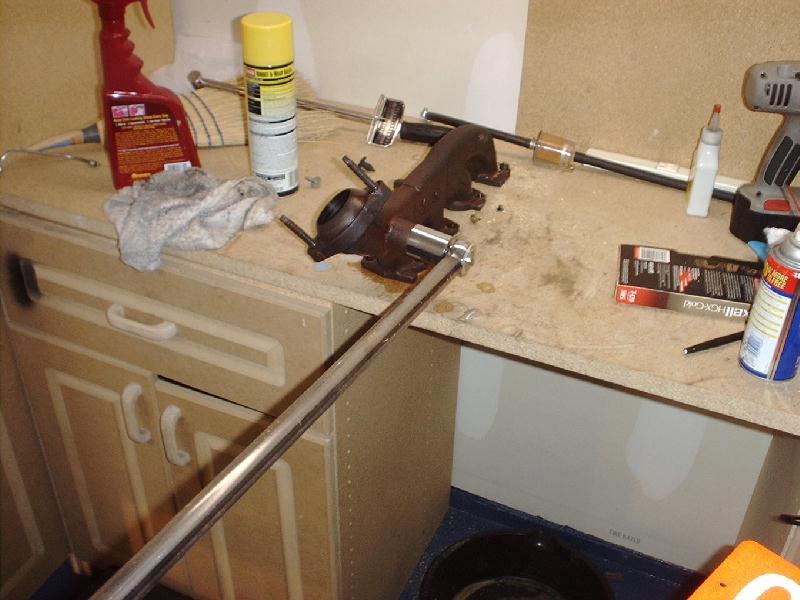
If you couldn't get the EGR fitting off the manifold like me, you'll need to affix the manifold to something solid, then use a 1-1/4" socket and 1/2" drive. Slide your breaker bar over the drive handle and give 'er a good pull.
If that doesn't do it, uh... get in your other car and go to a shop and get a real man to take it out. Remember, lefty loosy, righty tighty.
Affix the EGR fitting to the new header. Apply a little antiseize to the threads first though! Now, before you detach the header from your workbench, here's a piece of advice. The upper bolt on the rear-most exhaust port is an absolutely COW to
get threaded with the header in place. I spent an hour trying, I couldn't and ended up removing the header again. So I'm going to save you a massive headache by saying whip out your
Dremel and cutoff wheel and notch the bolt hole on the flange
so that you can put the bolt into the head half-way, and slide the header up under it. You'll thank me for this tip.
Before you put the header up in the engine bay, take a moment to loosen the upper EGR fitting up beside the throttle body. That will allow you to move the EGR tube around in order to help get the header in place. Now, work the header up into the engine bay from underneath the truck. Remember to pre-thread that upper bolt on the rear most port!! For each bolt, apply a small amount of anti-seize to the threads.
do NOT skip this!! Unless of course you like never being able to remove the bolt from the head again without drilling and tapping. Put the header in place and secure it loosely with the two outermost upper bolts. Slide the header gasket into place.
put the rest of the anti-seize coated bolts in place and torque them to 25ft/lbs starting from the inside working your way out.
Apply a small amount of sensor safe RTV sealant to the exhaust pipe flange to assist in sealing. Bolt up and tighten the exhaust pipe as much as she'll safely go. Make sure to apply even force to both bolts to get the sucker up straight. Re-attach
the EGR fitting and tighten both ends up. (Remember the anti-seize!!)
That's it for the driver's side, now on to the passenger, which you should be able to follow the same basic instructions for the passenger side with one exception. UNDO THE DAMN BATTERY CABLES!!! Don't be a moron like me and drop your wrench onto the starter and send showers of sparks absolutely everywhere and scare the crap out of yourself.
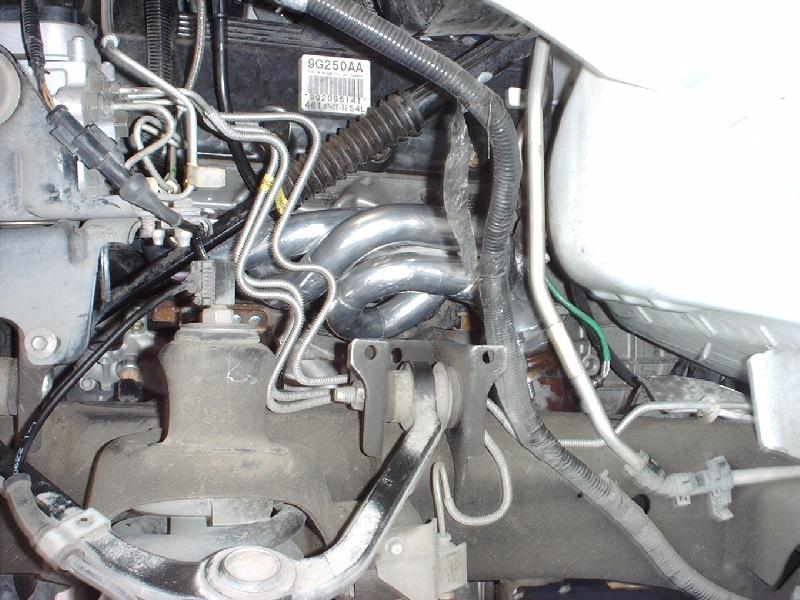
For those who like feel good, "Oh so that's what it looks like" pics, well...here's a bunch for you!!